So your headshot or business portrait session is all over, you’ve made your image selections, and you’ve downloaded your digital files. Now what?
Well of course you’re going to send the digital files over to your webmaster and graphic designer to get your marketing materials updated. But you also need to remember to update the profile pictures on your social media accounts. This is something that I see my clients forgetting to do all the time, but it’s really easy and hardly takes any time at all.
Note – The bonus “Low Resolution” jpg files that are conveniently included with any Calgary Headshots portrait session are sized perfectly for use on most social media accounts and should not need any further cropping. Having said that, if you want your social media picture cropped differently than the image I have provided for you, please ask! I would be happy to do it for you to ensure that you have a highest quality headshot available that isn’t distorted, blurry, or off-color. All of these things can happen if you aren’t sure what settings to use in your photo editing software…
To help you out even further I have compiled a list of links and basic instructions on how to update your profile picture on several of the most popular social media sites. Please feel free to call me if you need even more help than this. I would be happy to walk you through the process for any website!
- Update your Facebook Profile Image
- https://www.facebook.com
- Log into Facebook and go to your own profile (timeline) by clicking on your name
- Mouse over your existing profile picture
- Click on “Edit Profile Picture”
- Click on “Upload a new photo”
- Update your Twitter Profile Image
- https://twitter.com/settings/profile
- Log into Twitter and go to your own profile by clicking on your name
- Click on “Edit your Picture”
- Click on “Choose photo”

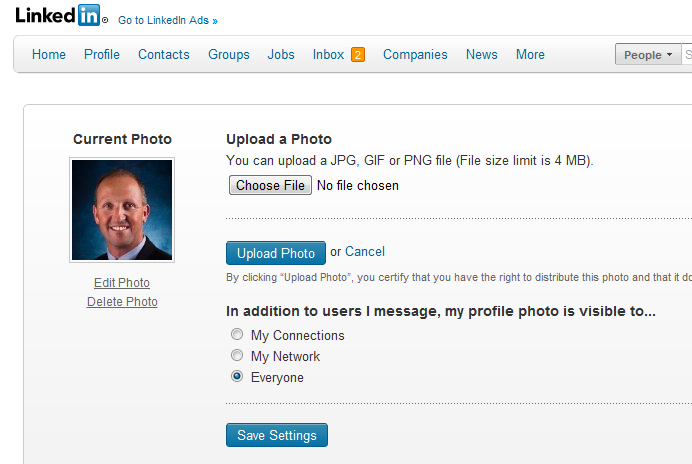
- Update your LinkedIn Profile Image
- http://www.linkedin.com/profile/edit-picture-info
- Log into LinkedIn and go to your own profile by clicking on your name
- Click on “Edit Photo” directly under your existing image
- Click on “Choose File”

- Update your Google Profile Image
- http://profiles.google.com/
- Click on “Edit Profile”
- Click on “Change Photo” directly under your existing image

- Update your Meetup Profile Image
-
NOTE – Meetup Saves a different photo for every group you belong to. You can manage them all separately, or do the following to use the same image for every group:
- http://www.meetup.com/account
- Click on “Manage photos”
- Click on the “Delete” link below your existing image, and repeat for all of the images you have saved in your account.
- Click on the “Delete” link below your existing image
- Click on “Change your Photo”, then follow the instructions to upload your new image.
- Go back to http://www.meetup.com/account, and then click on “Manage photos”
- Click on “Change your Photo”, then follow the instructions to upload your new image.
- Click on “Set as main profile photo”

Bonus Tip – If you keep your headshot files in a folder on the desktop on your computer you will always be able to find them very quickly. This makes it really easy to update any other sites that you visit (or join) without having to try to remember where your portraits are stored. Thanks to David Sanger for that tip!